




START HERE
Make it yours in an afternoon.
Nine short tasks, in the order most people do them, each with the exact place to click in Framer. None of it needs code; one optional line sets a colour on every page at once. Anything else Framer offers (a form, a button, an embed) can be dropped into a page’s Stage; give it the colour styles and it follows the sun too. For how the light system works underneath, see Setup & Style.
01 · YOUR NAME
Put your name on it.
The header is shared by every page, so you change it once.


01
Open Home and click the page frame's name above the canvas. In the right panel, next to Template: Frame, click Edit.
02
In Layers, open Nav, then Mark, and select Wordmark.
03
Double-click the name on the canvas and type your own. The dot after it is the accent and changes with the sun; delete it if you prefer.
04
A logo instead of the name: drag your logo image into Mark, set its height to about 28, and hide Wordmark and the dot. The bead fits itself to the logo.
02 · SITE DETAILS
Title, description and icons.
What appears in a browser tab, in search results and when someone shares your link. Open the menu at the top left and choose Settings (Alt+5).


01
Title: your agency or property name.
02
Description: one or two plain sentences about what you offer.
03
Language: so screen readers pronounce the page correctly.
04
Favicon: a 64 by 64 pixel icon, one for light tabs and one for dark.
05
Social preview: a 1200 by 630 pixel picture, shown when your link is shared.
03 · PHOTOGRAPHS
Six photographs, one camera.
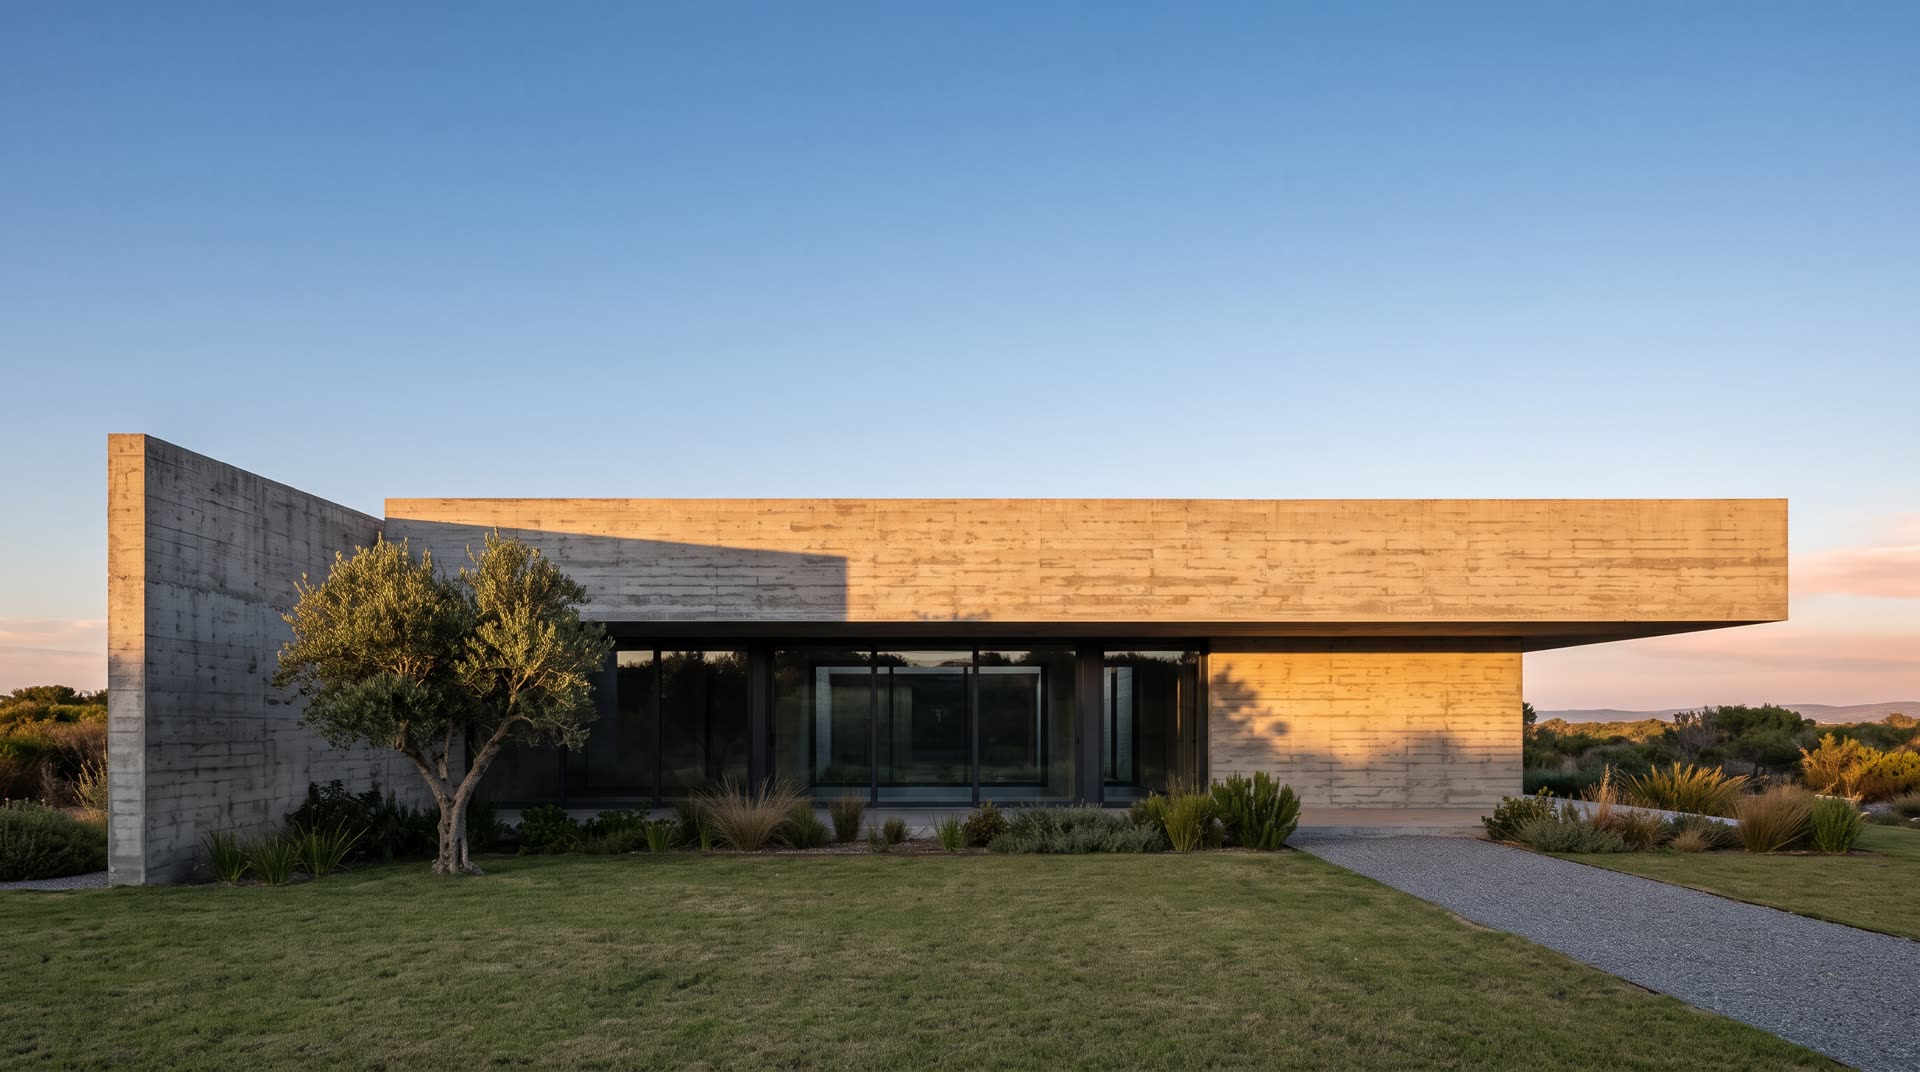
The page moves between six photos of the same view: 06 dawn, 09 morning, 12 noon, 16 afternoon, 19 dusk and 00 midnight. Keep the camera and framing identical; only the light should change. An hour you leave empty borrows the nearest photo you did supply.


01
Home: open Template: Frame as in 01, select Plate in Layers, and click each hour's picture to replace it.
02
If one photo sits a little higher or lower than the rest, drag its nudge until the rooflines match. A few percent is normal.
03
Each property: open it in the CMS (see 04) and replace the pictures under The six hours.
04
Nudge them the same way. Leave 00 Midnight empty if you have no night photo; the page still goes dark.
04 · PROPERTIES
One record per property.
Each property is a CMS record with its own page. Its fields come in groups: Identity, The sun, The six hours, The views and The other cameras. Open the CMS from the menu (Alt+2).


01
Hover a property and click Open to edit it.
02
Click + to add a new property. To hide a demo property, set its Status to Draft.
03
Title, Plot line and Guide price are the words that sit on the photograph.
04
The sun. Bearing is the way the main facade faces: 0 north, 90 east, 180 south, 270 west. Camera looks is the way the camera points. Latitude is where the house stands; south of the equator is negative. Not sure? Sun Setup, further down this page, works them out with you.
05
The headings for each view. Keep them to two or three short lines.
06
Floor plan: upload your plan as a PNG, ideally on a transparent background. Left empty, the page draws an illustrated daylight study instead.
07
Specification table: one row per line, written LABEL|VALUE, for example BEDROOMS|4.
05 · ENQUIRIES
Where viewing requests go.
Enquire opens the visitor's own email app with the property's name and link already written in. There is no inbox to set up.

01
Email button: open Contact, select Property enquiry in Layers, and type your email address. It opens the visitor’s own email app with the property filled in.
02
Add a phone number if you want one shown; leave it empty to hide it.
03
After publishing, click Enquire on a property and check the draft email. You do not need to send it.
04
The form (desktop and tablet): select Enquiry form in Layers and, in the right panel, choose where submissions go. It is an ordinary Framer form, so add, remove or reorder fields as you like.
05
Keep a field named Property and it arrives filled in with the house the visitor came from. On phones the form is hidden and the email button does the job; show it in the phone breakpoint if you prefer.
06 · COLOUR AND TYPE
Your colour, your fonts.
The accent (the Enquire button, links and the dial's line) can take your brand colour. It keeps your hue all day while its lightness follows the sun, so it reads against every sky.

01
One page: select that page's Sun Clock in Layers and set Brand colour. Strength decides how much dawn and dusk may warm it.
02
Fonts: turn Custom fonts on and pick Display, Text and Data. Change the text styles under Assets too, so the rest of the page matches.
03
Every page at once: in Settings, Code, add at the end of the head: <style>:root{--aspect-brand:#1d4ed8;--aspect-display:Fraunces,serif}</style> with your own colour and faces. Use faces you also picked in the text styles, so Framer loads them.
07 · HOME PAGE WORDS
The words on Home.
Home is written directly on its Stage, one group of fields per view.

01
Select Stage in Layers. Canvas view picks the view you see while editing; visitors never see this setting.
02
01 Title and 01 Plot are the first words a visitor reads.
03
Every view has a heading and an hour, the time of day it is shown at.
08 · ONE PHOTO ONLY?
Relight a single photograph.
No time to shoot six hours? Sun Setup, just below, writes six prompts for any image model that edits photos, each one telling it where the sun stands in your picture and which way the shadows fall.
01
Drag F to the way your facade faces and CAM to the way the camera looks. Set latitude and season.
02
Copy the six prompts and give each to the model together with your original photo.
03
Always edit the original, never an edit of an edit, so the windows and edges stay put. Then check the rooflines line up across all six.
Drag F to the way the main facade faces, and CAM to where the photographs were taken from. The dashed line is the day's sun path, seen from above.
In Framer: Sun Clock → Facing 214, Camera looks 34, Latitude 45.2, Season May. For a property in the CMS they go in its Bearing, Camera Looks and Latitude fields.
dawn
morning
noon
afternoon
dusk
midnight
09 · PUBLISH
Put it live.
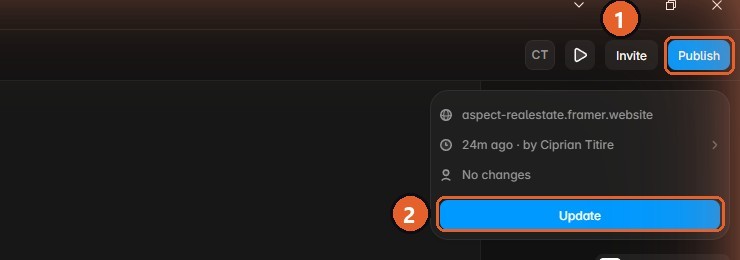
Your changes stay private until you publish.
01
Click Publish at the top right.
02
Click Update. The site is live within a few seconds.
03
To use your own domain, connect it in Settings, Domains.
10 · SUPPORT
Found a bug? Tell me and I fix it.
Every copy is supported. Reports reach me directly, and a fix in your own project is part of the purchase.
VERSION
ASPECT Real Estate 1.0, 28 September 2026. Mention it in a report.
REPORT A BUG
At titi.re/services: the page, the view and hour, your device and browser, and a screenshot or screen recording.
FIXED IN YOUR COPY
Invite me as an editor (Share > Invite in the Framer editor) and I fix it in your project, then you remove me.
UPDATES
Fixes for Framer changes are included. A remixed copy does not update itself, so fixes are sent as a new remix link or applied in your project.